
Malden Wood Flooring has handled wood floor refinishing in Malden, MA for more than 20 years, serving surrounding cities including Everett, Melrose, Chelsea, Medford and Somerville. We sand oak, maple and old pine down to clean wood, repair what is loose or damaged, and put down a finish chosen for the room and the people living in it.
Refinishing here usually means older floors. A lot of the houses we work in were built before 1940, with oak or pine that has been sanded before, painted around, carpeted over or patched where a radiator used to stand. Those floors can come back beautifully, but they have less wood to spare than a new floor, so every job starts with a look at what is left before any sander goes down.
We also plan around how you live. In a two-family we can refinish one floor while the other stays occupied, and for landlords we fit the work into the vacancy between tenants. Each quote is written, room by room, with stairs listed separately by the tread.
What Refinishing Involves on Older Floors
Checking How Much Wood Is Left
A solid oak board can be sanded several times, but only down to the tongue. Once the tongue shows, the board is finished. We pull a vent cover or look at a threshold to see the thickness above the tongue and count the boards in any area that has been patched before, because an old floor that has been sanded two or three times may have only one light sanding left.
Old pine and early oak in prewar houses deserve the most care here. Those boards were sometimes thinner to begin with, and if they were face nailed with cut nails, the heads sit close to the surface and must be set before sanding so they do not tear the paper or scar the wood.
Floors Found Under Carpet, Linoleum and Paint
Many refinishing jobs start with a floor nobody has seen for decades. We take up the carpet pad, pull every staple and tack strip, and scrape off old adhesive before any sanding, because a single staple can gouge a line across the room. Linoleum, old tile and black adhesive may contain asbestos, so they are checked before anyone disturbs them.
Painted borders and painted floors in older houses get extra attention. Massachusetts has its own lead-safe renovation rules for homes built before 1978, so we check the build year and the paint before sanding, and painted areas are handled with containment and HEPA cleanup rather than simply ground off.
Repairs Before the First Pass
Refinishing only looks right if the floor is sound first. We refasten loose boards, set raised nails, replace boards stained black by pet urine or water, and fill the holes left where radiators and pipes came out with matching boards woven into the floor rather than putty. Every repair is made before sanding so the new boards get finished with the rest.
Finishes, Stains and Sheen Levels
Waterborne, Oil-Modified and Hardwax Oil
Waterborne polyurethane dries clear, stays close to the natural color of the wood and has far less odor, which matters in a shared building. Oil-modified polyurethane gives oak a warmer amber tone that deepens over time and takes longer between coats. Hardwax oil soaks into the wood and is touched up in place, with a softer, lower-sheen look.
Every finish we apply meets the Massachusetts limits on VOCs for wood coatings under 310 CMR 7.25, which are tighter than the federal rules, so some products sold elsewhere are not an option here.
Stain Samples on Your Floor
Stain looks different on red oak, white oak, maple and pine, and it looks different again under each finish. We lay out stain samples on a sanded section of your actual floor so you choose in your own light. Maple and pine can blotch, so on those species we may water pop the grain or suggest a clear finish instead.
Choosing a Sheen
Sheen level changes how a floor looks and how it hides wear. Matte and satin hide scratches, dust and footprints best and suit most family homes. Semi-gloss and gloss look richer in a formal room but show every scuff. We show you sheen samples next to each other before the final coat goes on.
Refinishing in Two-Families, Rentals and Condos
Occupied Two-Family Houses
When the owner lives on one floor and a tenant or relative lives on the other, we work one level at a time. Shared stairwells and doorways are sealed, sanding runs during agreed hours, and a low-odor finish keeps fumes out of the other unit. Nobody in the house has to move out for the week.
Rental Turnovers Before Reinspection
In Malden a vacated rental has to pass a Board of Health inspection before the next tenant moves in. We schedule sanding, repairs and coats inside that vacancy and leave enough cure time for the unit to be shown and inspected, so the floor is finished and walkable on the date you need it.
Condo Buildings and Shared Walls
Condo refinishing brings association rules, working hours and neighbors on the other side of the wall. We ask for your association’s rules before scheduling, confirm the hours, and plan the loudest sanding in blocks. A waterborne finish keeps odor in the hallway and the next unit to a minimum.
Our Step-by-Step Wood Floor Refinishing Process
Step 1: Inspection and Written Quote
We walk the rooms, check board thickness, take moisture readings where there are stains or cupping, and look for paint, adhesive and past repairs. The written quote lists each room, each repair, the finish system and the stairs separately, so you know exactly what is and is not included.
Step 2: Preparation and Repairs
Furniture comes out, doorways and vents are sealed, and baseboard or quarter round is protected or removed where needed. Loose boards are refastened, nails are set, and damaged or stained boards are replaced and woven in before sanding begins.
Step 3: Sanding Through the Grits
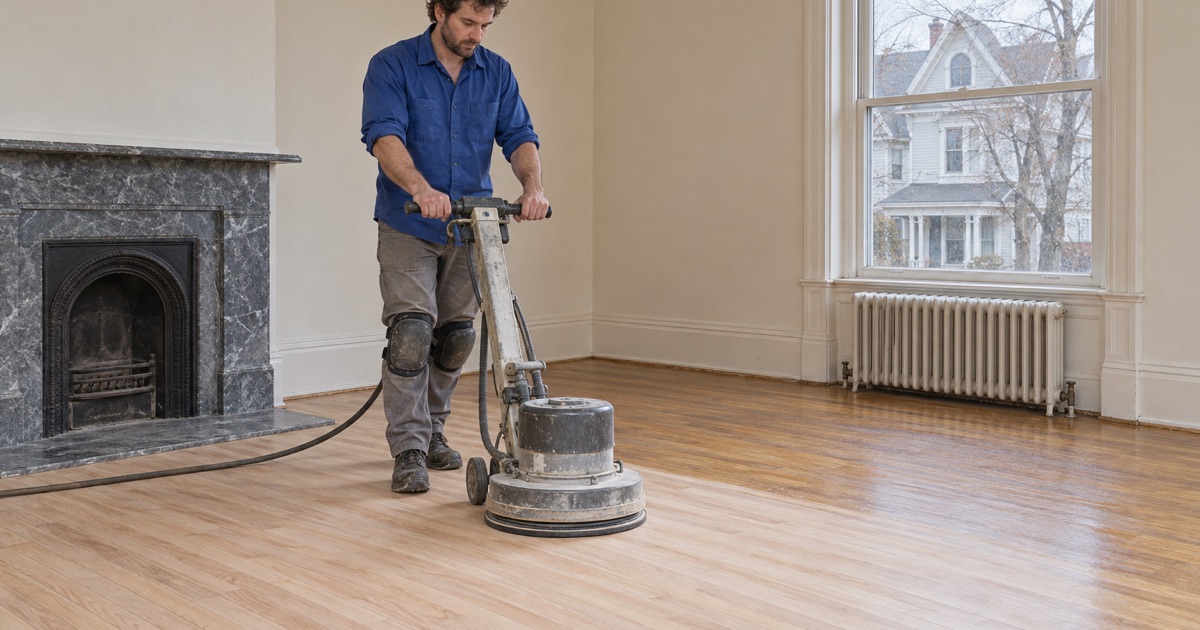
We sand the field with a drum sander connected to dust collection, working through a grit sequence from coarse to fine, and handle the edges with an edger. The floor is then screened or sanded with an orbital sander to remove the marks left by the coarser passes.
Step 4: Stain and First Coats
The floor is HEPA vacuumed and tacked, then stained if you chose a color. Sealer and finish coats follow, with light abrasion between coats so each one bonds to the last. Drying time depends on the finish and the humidity in the house that week.
Step 5: Final Coat and Care Instructions
After the final coat, we walk the floor with you, go over when it can take socks, furniture and rugs, and leave written care instructions. Felt pads, a damp mop rather than a wet one, and a screen and recoat every few years keep the new finish from wearing through.
- 20+ Years on Wood Floors
- Free Written Estimates
- Stairs Priced Per Tread